Log in to your site's dashboard as an admin to create categories.
- In the left-hand section, click on Catalog > Categories
- Click on Add Root Category.
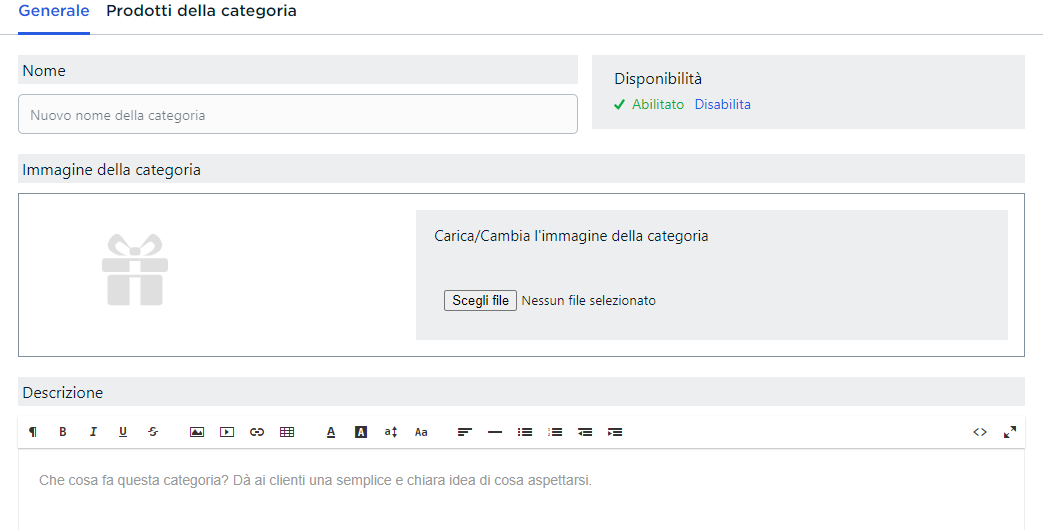
- Add the category's name (shoes, clothing, etc.), a preview, and a description. This category will be visible to your customers on your site, and they will be able to click on it to see the items you have placed in it. If you do not want it to be visible to your customers yet, click on disable and enable it to make it visible (see image below).
- Then click on save not to lose your settings
Once you have created your categories, you can also create subcategories:
- Select a previously created category (following the instructions above).
- Then click on the Add subcategory button. Add the subcategory's name, the preview, and the description. The subcategory will also be visible to your customers. If you do not want it to be visible to your customers yet, click on disable and enable it to make it visible.
- Click on Save to keep the settings.
To delete categories:
- Select the category from the list of categories and subcategories.
- Click the Delete Category button
* BDroppy will not automatically import categories, so you must create them manually.
Ghislaine
Comments